


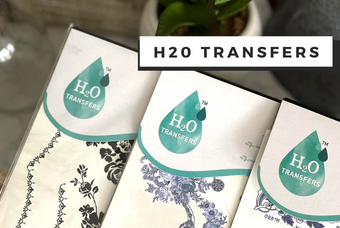

Just in time for Summer 2023, Redesign has launched their newest "Redesign Petites" line which is focus entirely on mixed media and small projects!
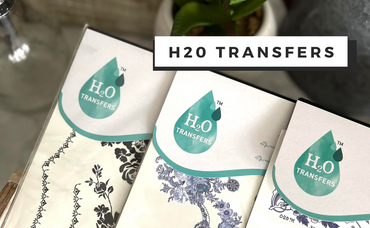
Our new H20 Transfers are printed design transfers that can be applied onto a surface with water. Our H20 transfers are user friendly, require less effort, and are so simple to apply to a variety of places, including wood, metal, glass, plastic, ceramics, and much more.
- Easy to Use
- Fast Results
- Applies to almost ANY surface
- Inexpensive and FUN!

Are they like rub-on tattoos?
Yes, the concept is similar. What makes them different from normal rub-on transfer is the ease of application by transferring with water, and the additional surfaces they will easily adhere to.
Each design is intricately laser cut to make the application seamless and the help with halos around the edges.

Instructions:
-
Clean the Surface - Wipe down your surface with a lint free rag to ensure it is dust free.
-
Wet the surface that the transfer will be applied to. The surface should be should have an even layer of water, so that it feels wet to the touch but is not pooling. You can apply the water with a brush, wet rag, mist sprayer, or sponge.
-
Remove the clear top sheet from your design.
-
Position the transfer design on your piece with the color side down. The "gray side" will be facing up. The image on the "gray side" will help you perfectly position your transfer.
-
Apply another layer of water on the backside of your design. This should dampen the paper without soaking it.
-
Rub your transfer to make sure it has adhered and that there are no air bubbles.
-
Let the H20 transfer sit for a minimum 3 minutes, while occasionally lightly burnishing to ensure it is completely flat. (Note: For medium and large designs let sit for 6-12 minutes.)
-
Lift the white paper backing up slowly to see if your design has transferred. If it has not transferred completely, simply lay it back down and burnish again ( add a little water if it is too dry). Wait another 30-60 seconds, and remove the backing paper
-
Seal your finished piece with any water-based sealer, water-based wax, or a water-based polyacrylic. Voila!
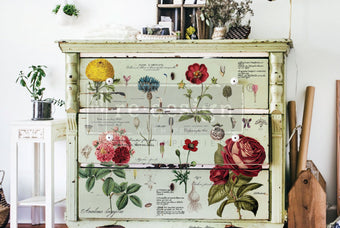
Can they be used on furniture?
Sure can, just follow the same procedure application procedure in the instructions below. If your project is chalk painted, I would recommend applying a coat of your sealer first, to avoid reactivation of the chalk paint.
Do you have the wet the surface first?
While Redesign's official instructions say to wet the surface first, we have found it is not always necessary to do so. Especially on slick surfaces such as ceramic, glass, or paper projects.
Wetting chalk or clay-based paints may reactivate your surface. On those projects I would put down a coat of clear coat first for it to adhere to.

Do H20 transfers need to be sealed?
I would recommend sealing H20 transfers as the "halo" around the transfer disappears once sealed. It will also provide extra durability. Just like your favorite décor transfers, H20 transfers can be sealed with any water-based sealer, polyacrylic, or water-based wax.

Can they be layered?
We did not have the best results layering the H20 transfers. The water reactivated the design underneath.
Final Tips:
- Hold that paper layer firmly, or use a piece of painter's tape, so it does not slide around, especially on slick surfaces.
- You do not need a ton of water!
- You may find a water brush useful to only soak the areas needed.
- Practice with a small design first, so you can figure out which way of application works best for you.

H20 Transfer Applicator
Created to pair with Redesign Petite’s H2O Transfers, the H20 Transfer Applicator will help you create better adhesion, while removing air bubbles and wrinkles during the application process. Burnishing the edges is super important and this tool is sure to get the job done.
 Looking for an inexpensive applicator? Check out our "Blue Tool." The Blue Tool is perfect for burnishing transfers, removing air bubbles, applying decoupage, and more. Measuring 4" x 3", this handy tool is a must-have for any craft project.